Extension & Air. THE Reference.
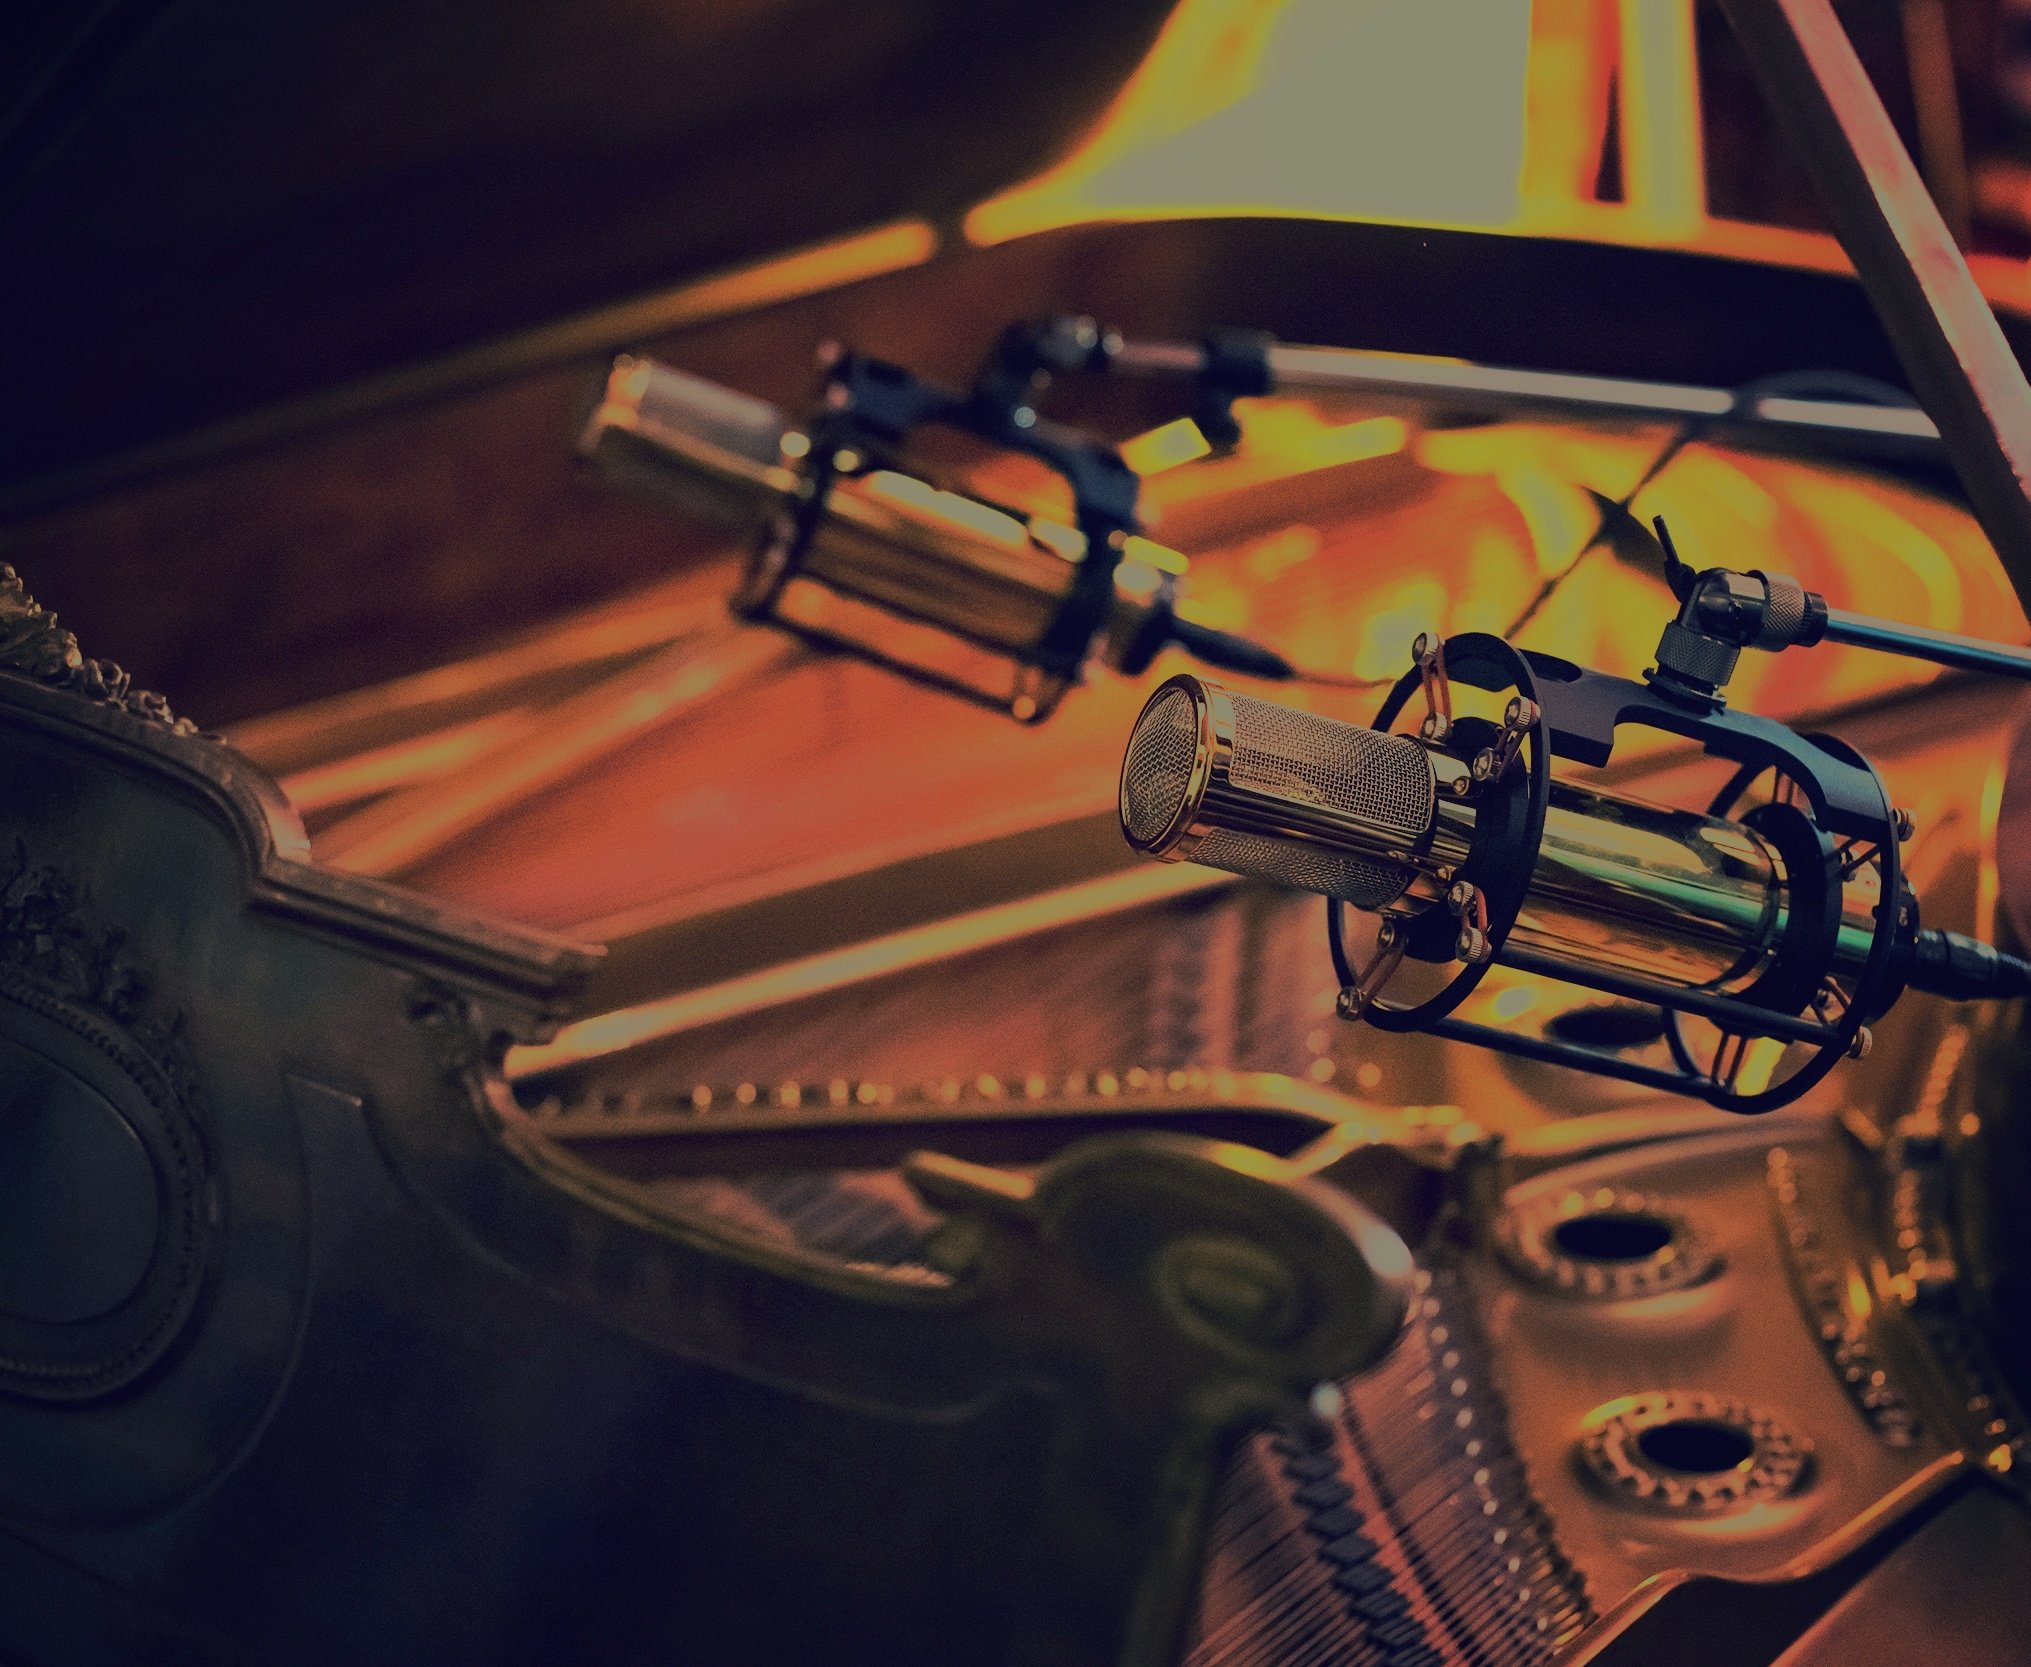
When fidelity is the goal, the Manley Reference Gold Mic is the solution. Its nimble CK12-style American-made capsule, open grille, and continually adjustable pickup pattern design allow it to hear deep into a room, capturing nuances and subtleties that other mics miss. It is real. It is the truth.
WANT TO HEAR IT?
Compare all three Manley mics on the same sources and see which one is the best fit for YOU.“I heard every single nuance of my voice and learned more about myself in that session than I had thought possible. The clarity is unparalleled. It’ll show you your true voice and it’ll push you to be a better artist. If you’re serious about recording your vocals, you need this.”
– Taylor R, Manley Customer –

DETAILS
The MANLEY GOLD REFERENCE MULTI-PATTERN MICROPHONES are a statement, quite simply, of the finest microphones that money can buy in the pursuit of truly accurate musical recordings. The Gold Reference Series employ our own design of large capsules (1.25 inch overall, 1 inch diaphragm diameter) which are executed to precise tolerances made possible by modern micro-milling machinery available today in California. The capsule rings and back-plates are milled from solid brass. The gold diaphragm film comes from Germany and is tensioned using proprietary techniques by David Josephson ensuring capsule-to-capsule constancy, combined with the speed, "air", and superb ultra-high frequency response you have only dreamt about.
The all-tube electronics in the MANLEY REFERENCE SERIES MICROPHONES are built around two triodes in cascade forming an entire gain-block. We currently use a dual-triode 12AX7 tube, easily obtainable and replaceable, mounted in a ceramic socket. (We originally used 6072A until it became impossible to find quiet ones out of the NOS dreck left on the market.) The output is coupled through a MANLEY output transformer of unparalleled quality and substantial physical size employing nickel laminations with "hum bucking" bi-filar windings, encased in mu-metal. The polar pattern control is continuously variable between the OMNI, CARDIOID, and FIGURE 8 positions vastly increasing this mic’s versatility. The Gold Mics make it possible to exactly tailor the proximity effect to achieve the desired character.


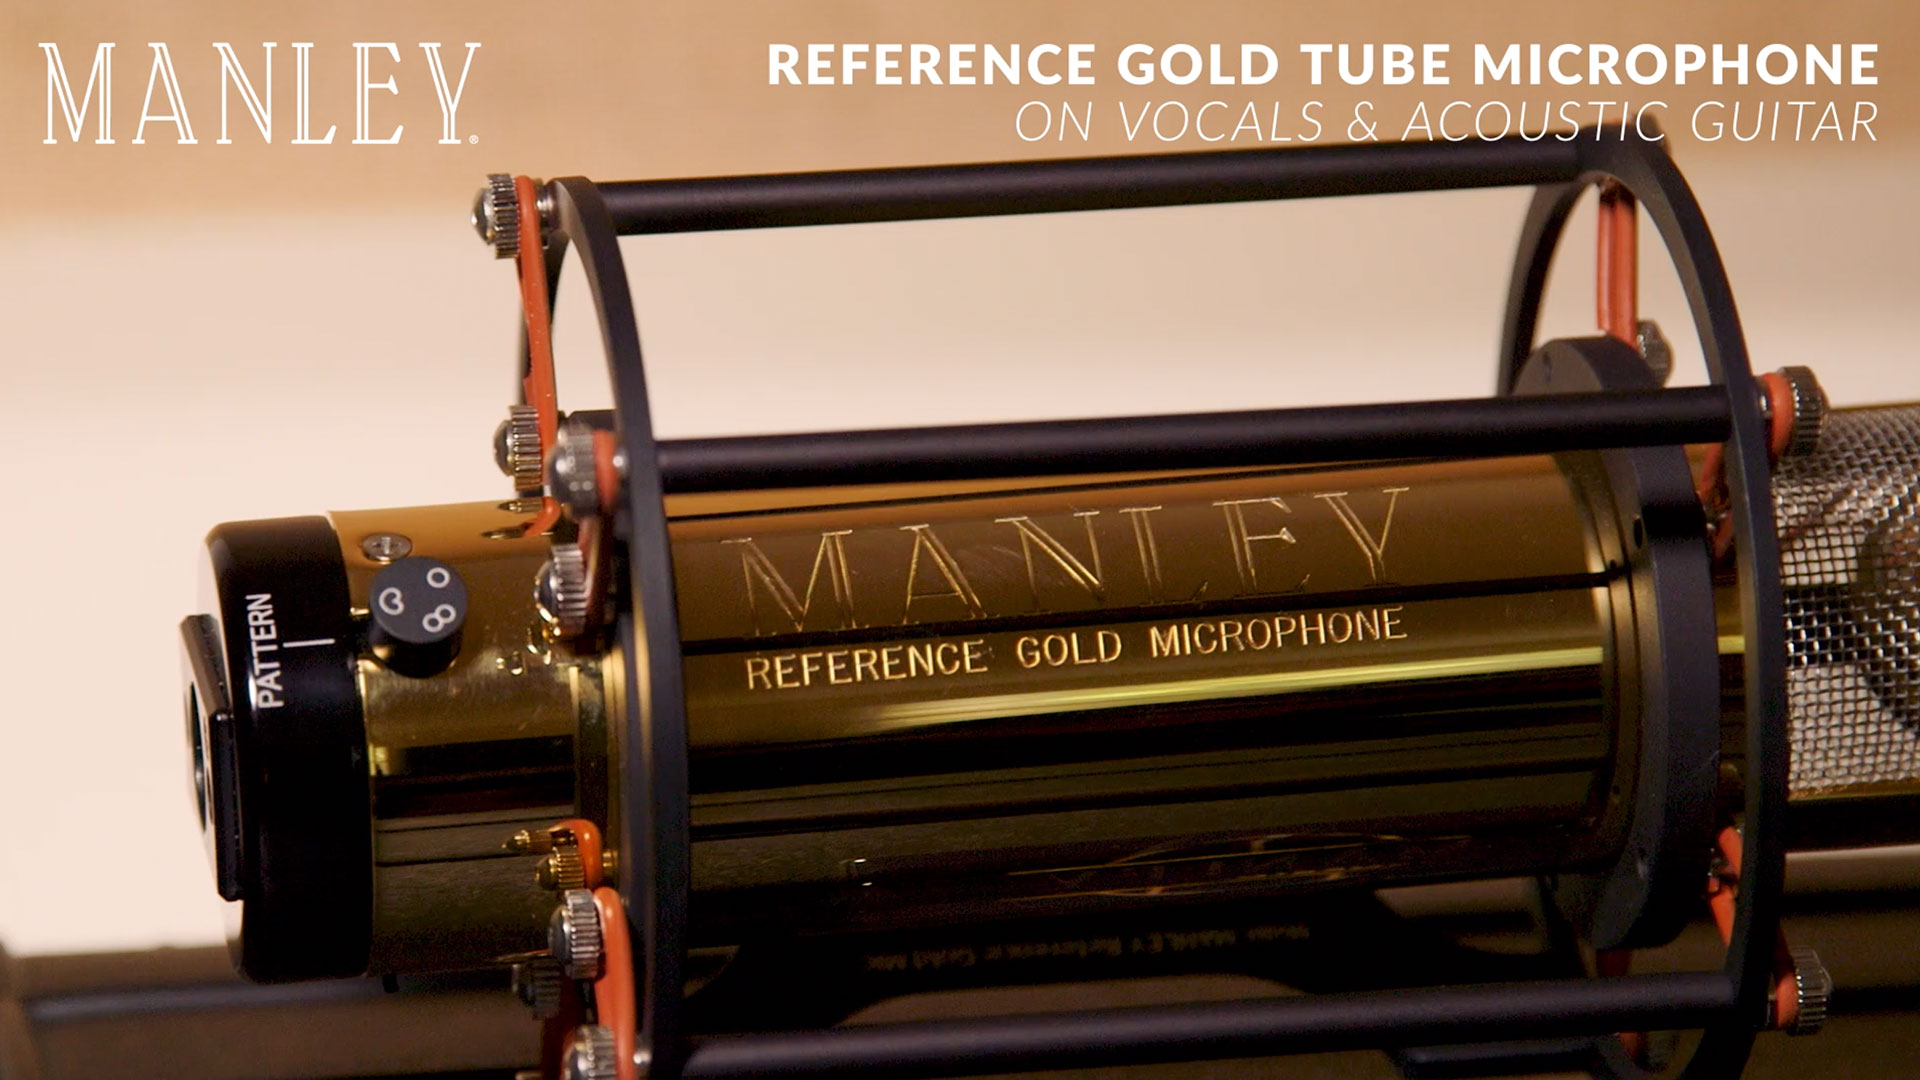

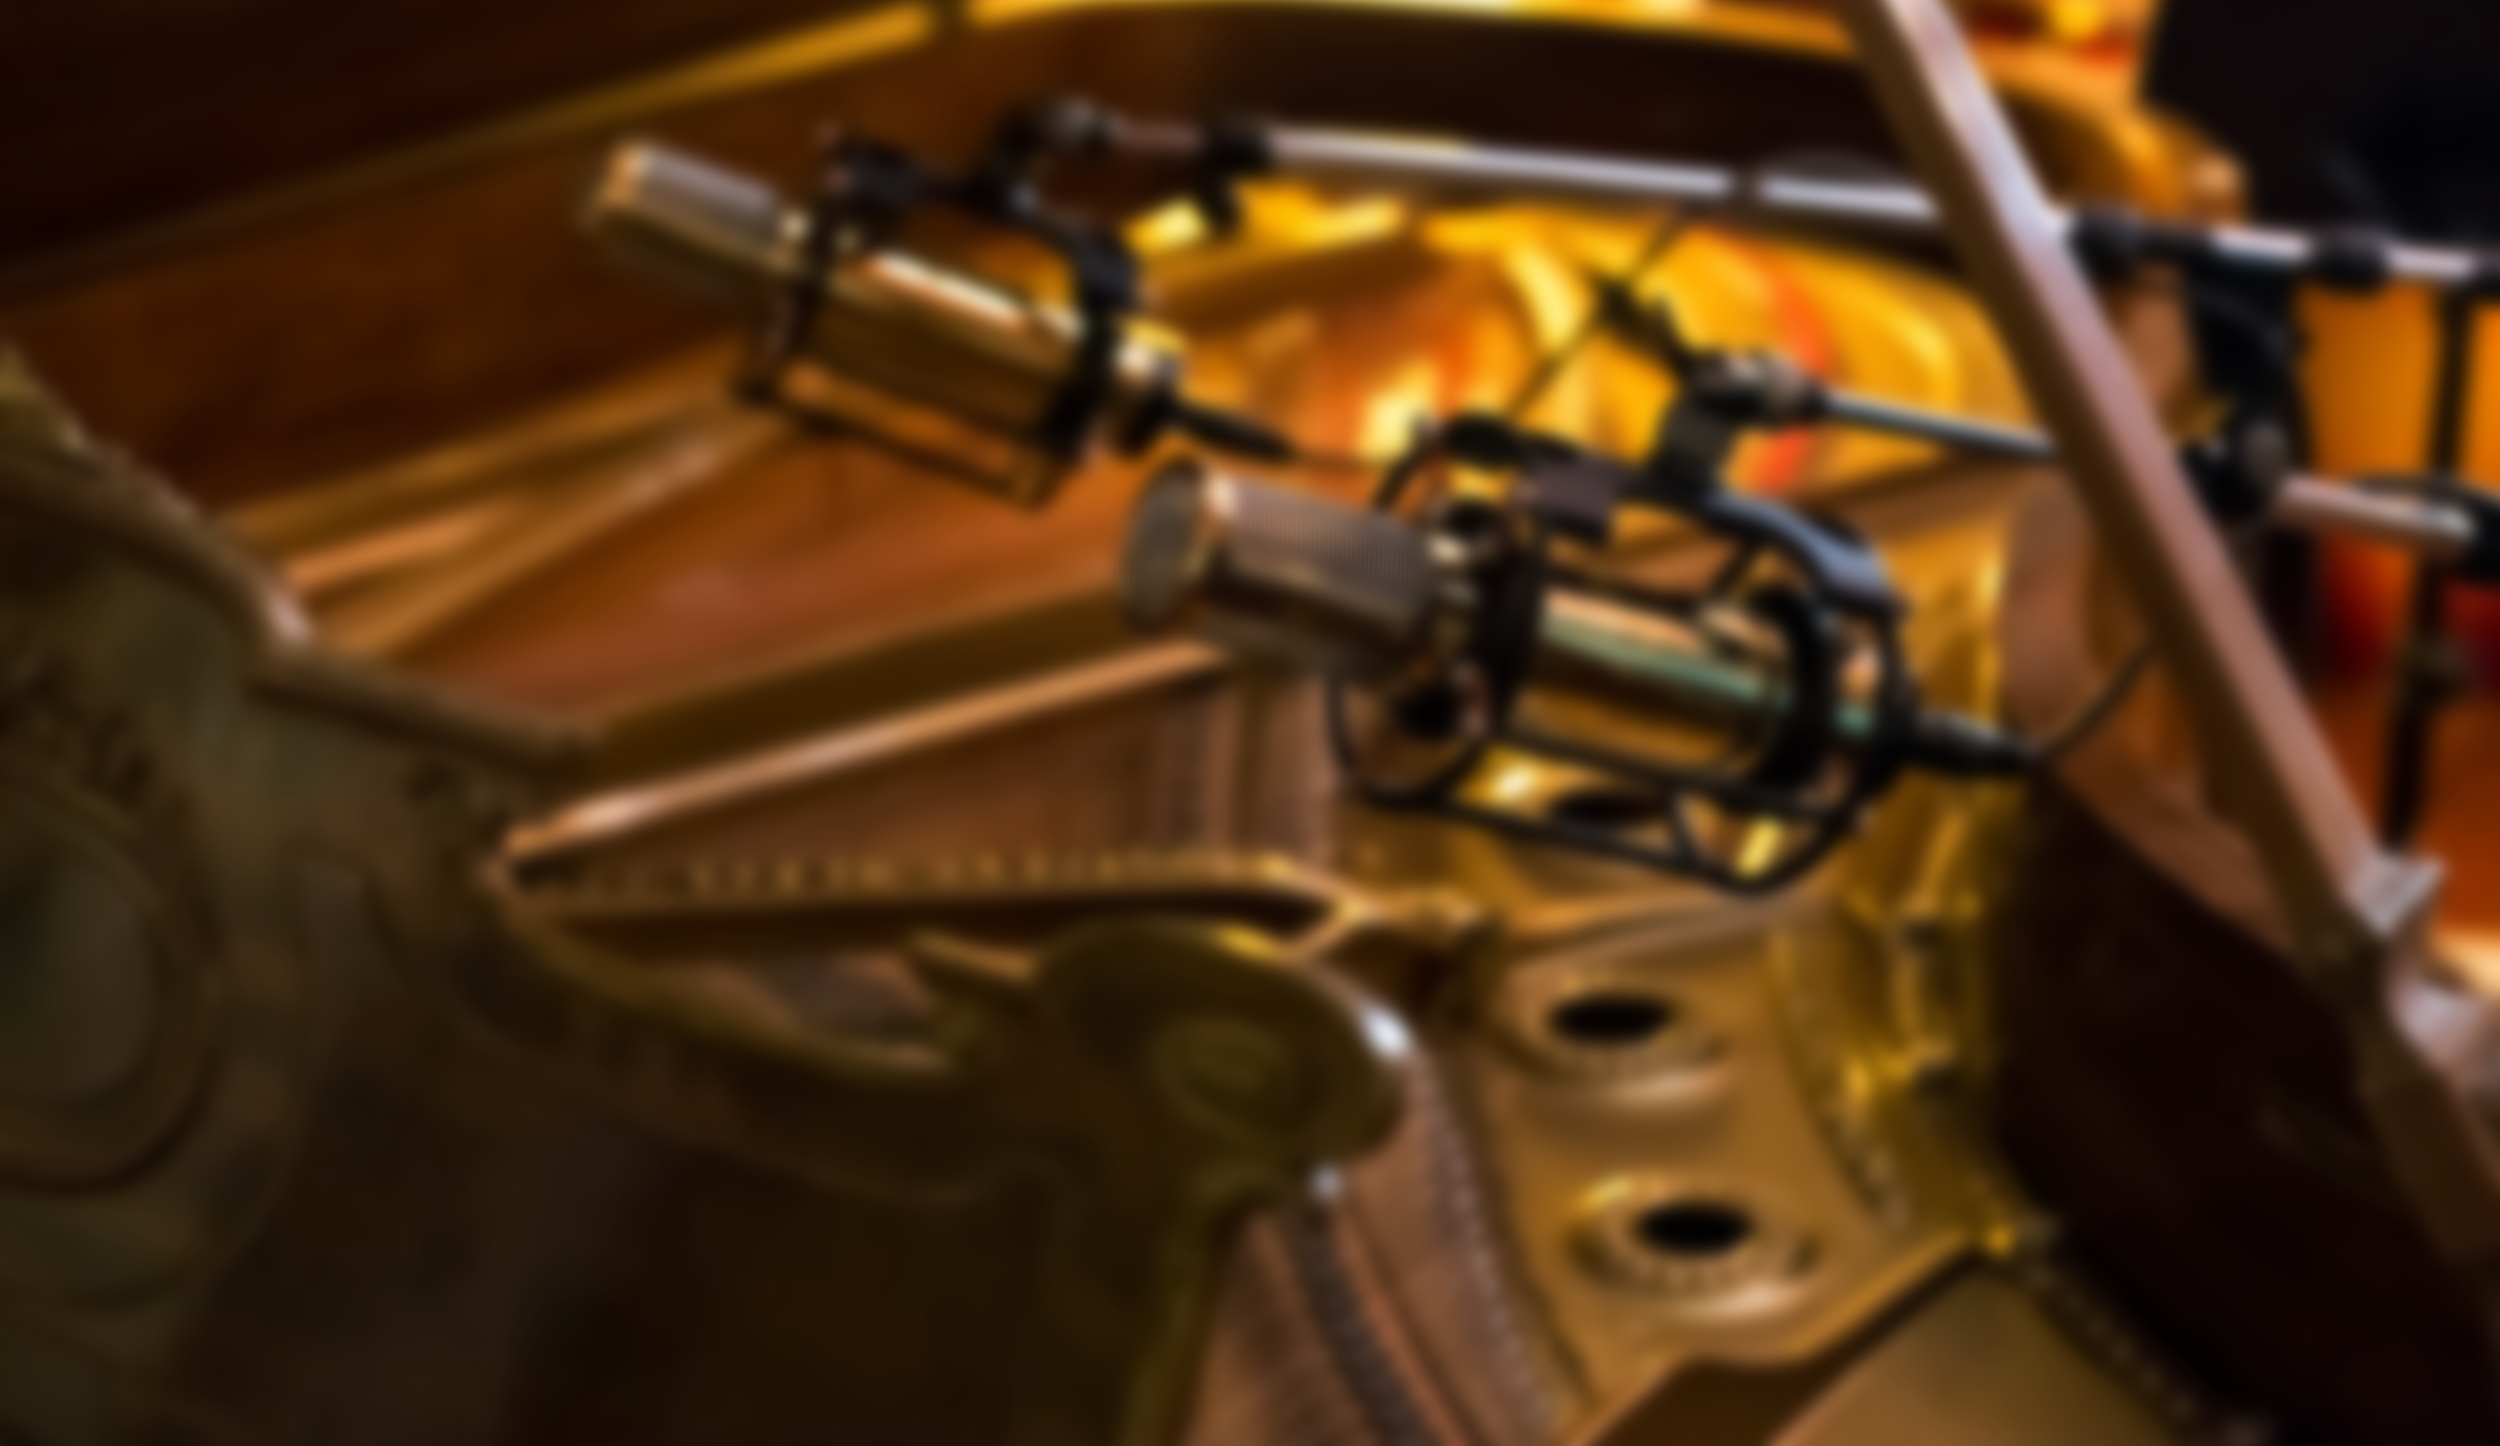
We have chosen a very open weave stainless-steel grille for the capsule window which allows all the highs to reach the capsule unimpaired letting the engineer choose if, when, and how much pop screen is appropriate. As a result, the Reference Gold reaches to the furthest extremes of highs and lows with gorgeous natural acoustic smoothness. Some engineers tell us it sometimes "hears" more than they do! A locking 7-pin XLR connector for the power supply cable carries the stringently filtered and regulated voltages from the separate dedicated MANLEY POWER® power supply. The audio signal exits the PSU via a traditional 3-pin XLR jack. The microphone body is machined from brass providing excellent shielding properties, polished to a high lustre, then plated with 24 karat gold for an impressive finish, inspiring confidence in artists and producers.
Our proprietary precision suspension system is provided with each REFERENCE MICROPHONE (the capsule itself is mounted onto a neoprene-rubber shock-mount.) Because the entire working "guts" of the microphone may be removed for service in one piece from the housing, it is envisioned that the microphone need not be removed from the suspension. We also provide a very useful swivel of our own design with every REFERENCE MICROPHONE; its T-bar handle and locking clutch action require no tools to adjust. And no MANLEY microphone would be complete without a genuine leather capsule protector which slips (and ties) onto the end of the microphone to protect the capsule when not in use.


DRIVEN BY MANLEY POWER®
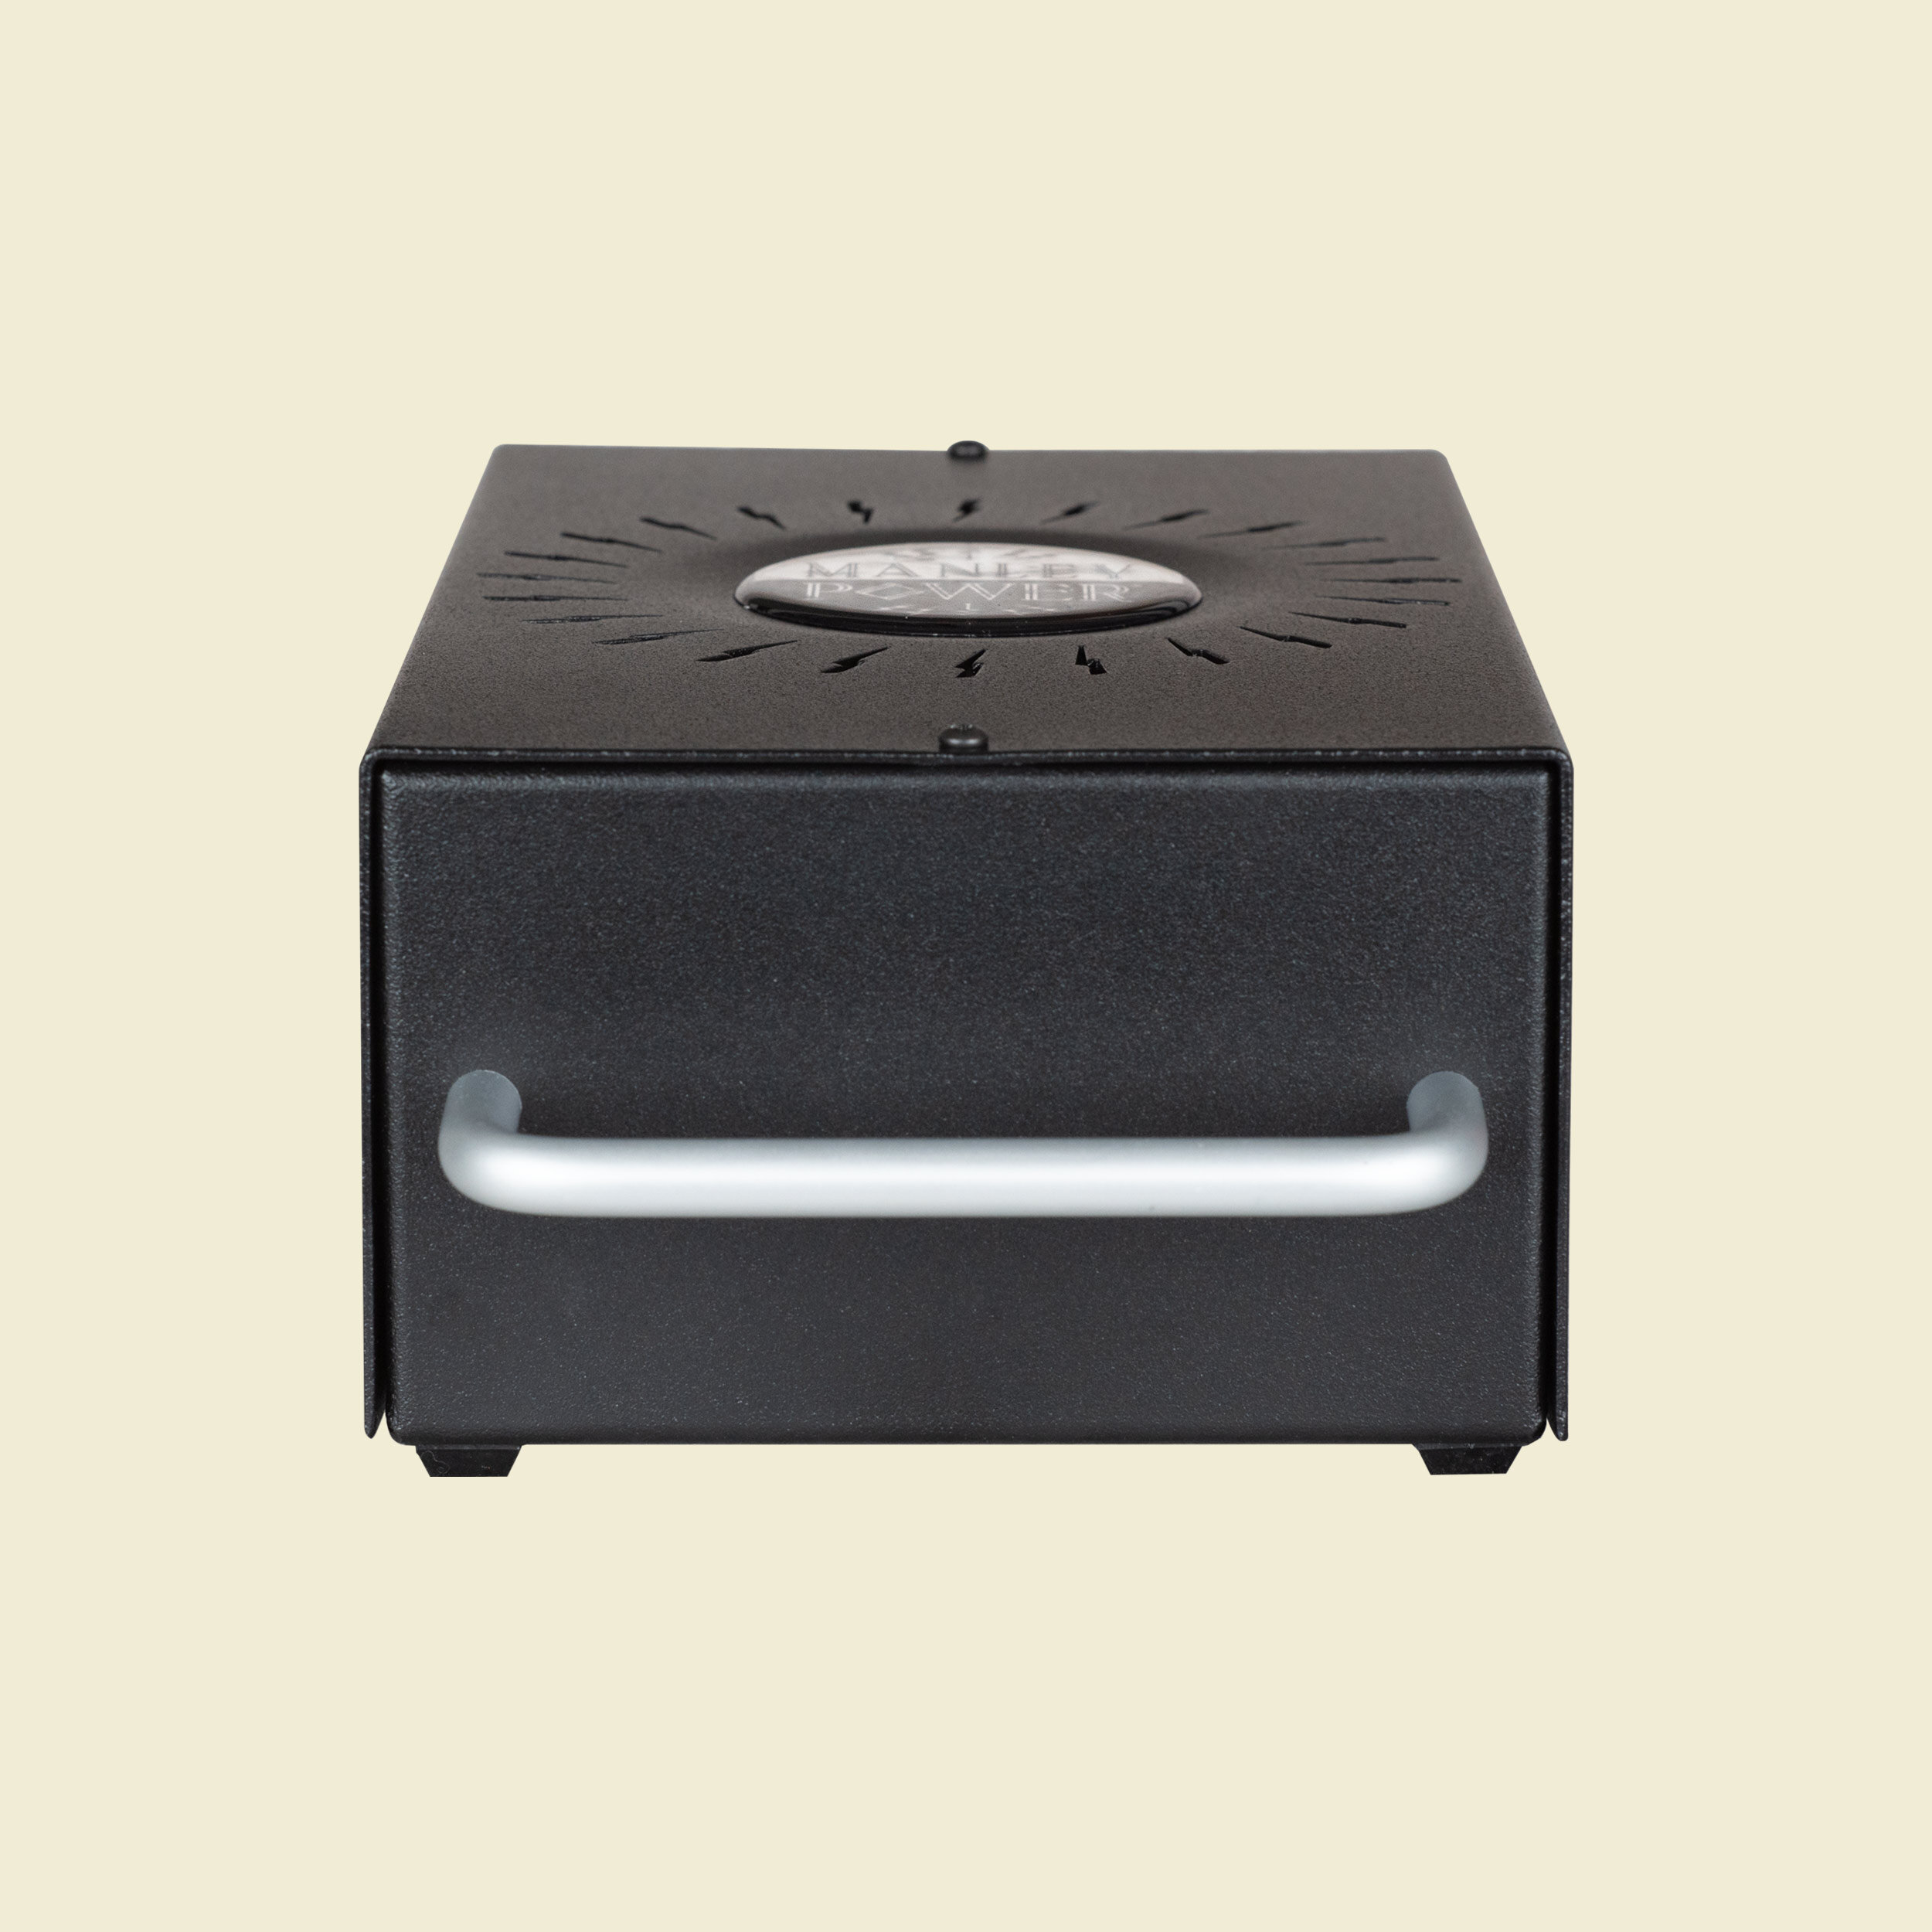
As of June 2020, the Reference Gold also utilizes our new MANLEY POWER® Switch-Mode Power Supply.
This new power supply is empirically quieter than the older linear PSUs. Sonically, we hear faster highs, generally more clarity, and ‘blacker blacks’ in the silence. The new power supply is also universal - accepting any voltage or frequency - so it works anywhere in the world without a voltage changeover switch or power transformer rewiring.


SPECIFICATIONS
All-Tube triode design 12AX7 or 7025EH (Previous versions used 12AT7 and 6072)
-10 dB switchable pad
Frequency response: 10Hz-30KHz
Sensitivity: 17mV/Pa
Noise typically -120dB EIN
Max SPL: 150dB
Output Impedance: 250 Ohms
Weight: 2.25 lbs (mic)
Size: mic body 2" diameter x 9.7" long x 4.5" (mic suspension outside diameter)
Shipping weight: 15 lbs
POWER SUPPLY
As of 6/2020 SMPS Power Supply versions REFGOLD7P####:
Universal MANLEY POWER™ Switch Mode Power Supply; works worldwide
Power Consumption: 8 Watts
Weight / Dims: 2.35 lbs / 5 x 3.3 x 9.3” (with handle)
Fuse: 250VAC 2A SLO BLO Ceramic - 5mm x 20mm
Input Voltage: 90VAC to 250VAC (Universal)
Mains Frequency: 50~60Hz
OLDER LINEAR POWER SUPPLY VERSION pre-2020:
Outboard Power Supply is factory set for 100V, 120V or 220-240VAC operation for original destination country's mains voltage.
Operating Mains Voltage changeable with power transformer re-wiring via internal jumpers and fuse value change.
Older units might have 120-220V Voltage changeover switch
Size: 5" x 9.3" x 3.3" (PSU including handle)
Weight: 2.6 lbs (PSU)
Mains Voltage Frequency: 50~60Hz
Mains Fuse Value: 250mA @ 100~120V; 125mA @ 220~240V operation
Mains Fuse Type: 5mm x 20mm SLO-BLO Glass or Ceramic
(older units used 1/4” x 1 1/4” size MDA or MDL type)Power Consumption: 70mA @ 120V = 8.4 Watts
Specifications subject to change because they just might.
REVIEWS
“The Reference Gold seems to reach into the distant sound field and bring out details that might be less evident with other mics…if you record to tape or want natural ambience for instrumental tracks, the Reference Gold mics could be unparalleled…and do not underestimate the wow factor of this mic. We had several people say it made them feel special. Part of our job is interpersonal, and this mic can really help in the confidence department.”
– Garrett Haines, Tape Op Magazine (Mar/Apr 2016)
“I heard every single nuance of my voice and learned more about myself in that session than I had thought possible. The clarity is unparalleled. It’ll show you your true voice and it’ll push you to be a better artist. If you’re serious about recording your vocals, you need this.”
“I've never known this to not suit a vocalist! My studio's Reference Gold is always the first mic out on a vocal session because I know I can trust its larger than life detail, incredibly flattering fat and bright tone and pure signal path.”
“…it brings a unique fairy dust to a vocal.”
– Reference Gold customer reviews, via Manley Dealer websites
"But if there's a single aspect that makes the Gold as special as it needs to be, it's what happens down at the bass end. Most voices benefit to some extent from warmth, but it often comes with a blurring of detail - not so with the Gold, which gives you as little or as much warmth as you want without any loss of clarity."
- Intermusic UK, November 2007
RESOURCES

TECHNICAL NOTES
If you need to make a tube conversion, please contact our tech support folks. Or if you want to stick with the 6072 tube, you can try to find some on the open market. We have none in stock anymore.
Note: The custom transformerless internal preamp version is NO LONGER available to order.
Another note: Older units with two connectors on the base of the microphone had a a locking 4-pin connector to receive the B+ and Heater voltages from the PSU and a second locking 3 pin gold XLR connector for the audio signal output. This allowed the audio to be picked off right at the microphone so that the customer could use whatever cabling he desired.
FREQUENTLY ASKED QUESTIONS
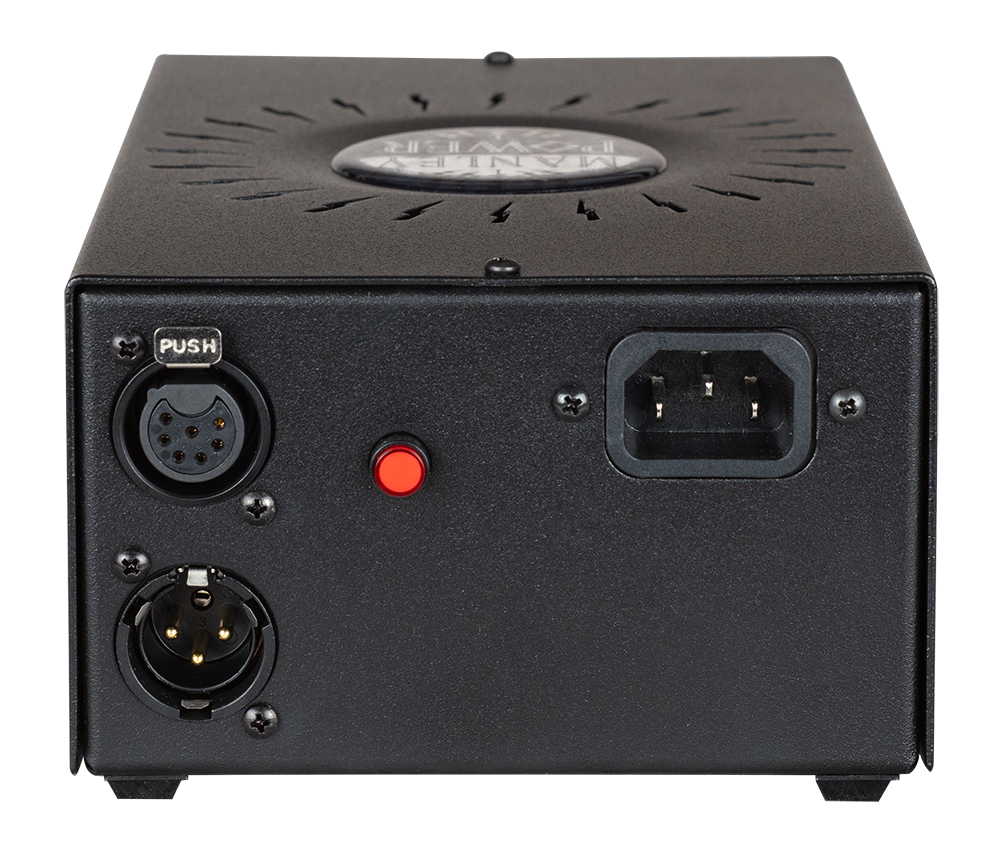
I just got one of your new microphones! What does that red button do on the power supply?
With MANLEY POWER® switch-mode microphone power supplies from mid-2020 onwards (see image on right), there is a red power switch / indicator on the rear side. With an IEC power cable connected, this switch’s LED will glow dimly to show that power is applied. When the switch is pressed to turn the unit on, it will glow bright red. So even if you see the switch glowing slightly, it does NOT mean your microphone is turned on – you still need to PRESS THE SWITCH to provide power to the mic.
Why should I order replacement microphone tubes from you?
The microphone grade tube is tested at the factory for lowest noise, using a test fixture we have built that duplicates the Manley microphone circuit. To the best of our knowledge, there are no other tube vendors that have this purpose-built tester. This testing yields very few tubes suitable for use in the microphones.
Tube quality, especially noise characteristics, varies over time and batch-to-batch. At any particular point in time, we may be using a different tube than what is listed. There is nothing "special" about a Sovtek or Ruby, or anything else we use; what is special is the characteristics we grade and select for including the low noise requirement, and the testing required to insure this.
I have a really old mic from the 1990’s that uses the 6072. Can I install a 12AX7 instead?
Sure you can, but you’ll need to make a couple of modifications.
Anode Resistor #1 change from 26K7 Ohms to 56K2 Ohms 1/2W Metal Film.
Anode Resistor #2 change from 100K Ohms to 221K Ohms 1/2W Metal Film.
Feedback resistor change from 681 Ohms to 562 Ohms 1/4W Metal Film.
Install network across tertiary feedback winding: 0.1uF 63V in series with 680 Ohms 1/2W Metal Film.
Install low noise 12AX7 or 5751 in place of 6072 or 12AY7.
Will the heat from the tube damage the capsule if I use the microphone upright?
Not at all. Our microphones can be used in any position, any orientation.
How to change the O-RINGS:
The mic suspension is held onto the mic by a set of red silicone o-rings connecting FIVE pillars surrounding the mic, one set on the top and the other on the bottom of the mic. There are two sets of stainless steel screws and spacer nuts that hold the silicone o-rings onto these points and all you do is loop the o-rings onto these posts inner and outer. You can double up the o-rings for extra security and put two of 'em on each point and order two sets (20 total) if you'd like to.
If you needs to order more o-rings, you can order a set of them from our parts store, www.tubesrule.com. They are RED SILICONE #114 O-RING's.
How to change a TUBE:

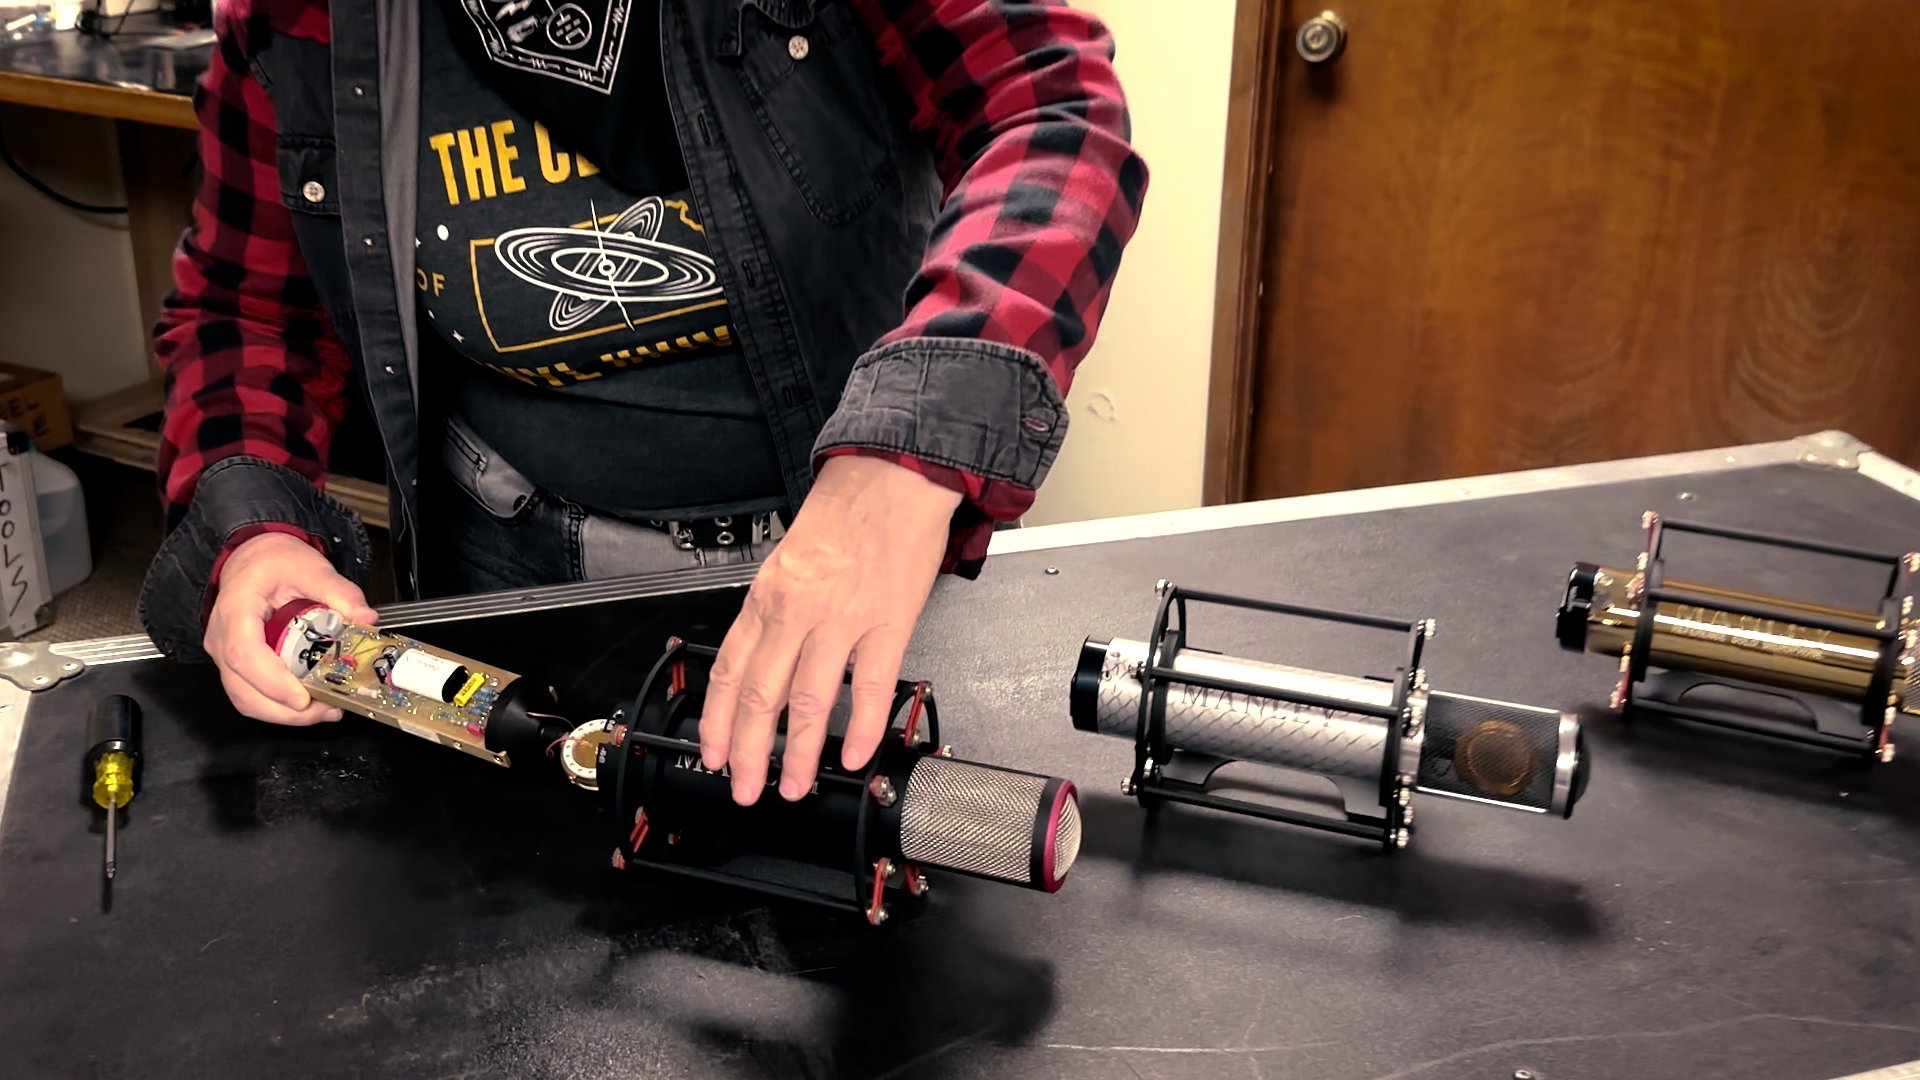
Here is a video that explains the general concept for the Manley Reference Mono microphones. Read on for more details: Disconnect the power cable at the mic. Do not remove the mic suspension. You never need to. Remove the three phillips screws at the base (red part) of the mic that hold the case on. Grasp the body of the mic with one hand, grasp the base with the other hand. Carefully pull at the base of the mic (sometimes a slight twist will help), and slide the base out of the body just enough to expose the tube. Grasp the tube while holding the tube socket, and wiggle and pull to remove it. Install a new tube and put the case back on.
BUZZ! My mic started buzzing! Those damn bees...

Here is a video that explains the general concept for the Manley Reference Mono microphones. Read on for more details: If you have a buzz through the audio coming from your microphone, that can be a ground continuity problem with the body of the mic making good ground connections. If the mic is buzzing when you are holding it only by its suspension or it is just setting on a table or on a mic stand and it stops when you touch the body and grill with your hand, then you need to check out all the grounding points on the mic.
For all of these tests, you never have to remove the suspension from the mic body. It can stay attached always.
The easiest first thing to check is the two (or three on older mics) flat head phillips screws that secure the body-tube of the mic to the base. With the mic on a towel on a table (so you don't scratch it) lying down sideways, using a #1 Phillips Screwdriver, loosen and remove the body-to-base screws. The Manley Reference Gold Mics do not require this procedure as gold is conductive. On the Reference Cardioid Mic, the black anodize under the flat head screws should be removed exposing the aluminum in the countersunk cone-shaped hole. If it's not showing silver in the countersink hole, use a 1/4" or 3/16" drill bit with your fingers to gently rotate the drill bit in the countersink to scrape away the anodize layer to expose the underlying aluminum.
Note that current production Manley mics use a stainless-steel 4-40 x 1/4" flathead screw in conjunction with an angled star washer to really dig in and make a good ground connection. Before that zinc-plated screws were used. If you happen to have black-oxide screws in your very old Manley mic, let's replace those with the stainless screw plus the internal tooth countersunk crinkle washer.
Now slide the body-tube of the mic away from the base just a little bit to expose the innards of the base of the microphone. Slide up and wiggle. (The base and guts of the mic are all contained by a sub-chassis.) Repeat the drill bit exercise with the two (or three in older Manley mics) that those body-to-base mounting screws go into so that the bottom of the angled flat head screw digs into the exposed aluminum of the threaded hole. Rotate the drill bit with your fingers to expose the aluminum and create a slight conical seat for the screw.
While you have the base exposed fully, in our older mics, you'll see some tapped holes around the circumference of the base that secure the XLR connector to the base. In really old Manley Gold mics, you'll also have a set-screw holding the 4-pin power connector to the base of the mic. It is important that these connectors are held tight and also that ground is carried to them by the grub screws. Using a 1/16" hex key, or Allen key, find those buried 4-40 x 1/4" grub screws in the base and back them out and re-tighten them to make the ground and physical connection integral again. (Lefty-Loosen, righty-tighty!) In very old mics, black-oxide coated grub screws were used. These days, we would use more conductive stainless steel set screws.
Our newest mic designs use a stock chassis mount XLR connector held by two screws to the bottom end of the microphone base. Let's make sure those 4-40 Flat Head Phillips screws are stainless-steel (or at least zinc-plated) and not black-oxide coated. Let's also remove one at a time and perform the drill bit clearing exercise under the screw head in the countersunk hole to make sure there is a good metal-to-metal contact for best ground connection.
Contact our Parts Department to get an up-to-date screw kit for your mic by filling in the Service & Parts Request Form.
At this point, after you put the mic back together and retest it, if the buzz is still there, with the mic on, see if touching the screen or top of the screen makes any buzz go away. Hold the XLR cable shell so you are making the ground path between the screen and the XLR cable metal shell. If the screen is loose, it will need to be expoxied back in place with silver conductive epoxy. If touching the case makes the buzz go away then we still have grounds not being made in the base of the mic so go back and repeat the base-screws grounding exercises.
If you have determined that it is not the screws, and it's not the screens, the next step would be to replace the vacuum tube with any good working 12AX7 or 12AT7 or 6072 you have kicking around to see if the tube is the problem. Sometimes tubes just do not rule...
Next step would be more advanced, checking the power supply volts, especially the heater regulator to make sure you have 12V coming off him... looking for a bad cap in the PSU that isn't doing his job of removing ripple, etc. If nothing you try works then we'll arrange an RA# for you to send it in. Give us a holler on the Manley Service Request Form if you need more help or a schematic.
I hear hissy spitting noises. Is my capsule bad?

Here is a video that explains the general concept for the Manley Reference Mono microphones. Read on for more details: When the mic capsule is near the end of its life, generally the mic will get noisy. If the vacuum tube gets noisy, generally it will be “white” noise (hiss), and will be constant in nature. Capsule noises can be intermittent and inconsistent. A bad capsule can be fine for a while, but may get noisy after brief usage, or with differences in temperature, humidity, etc. A quick test to determine if the capsule is at or nearing the end of its life is as follows: Connect the mic so it can be monitored with headphones. While listening, exhale gently directly into the windscreen at close range. You can say “HAAA” into the microphone. If there is a big “rushing” noise, whistling noises, or the sound completely fades away, this is a good indication that the mic capsule probably needs replacement, or at least a professional cleaning. Contact us using the Manley Service Request Form if you need us to look at this for you.
The capsule life is affected by age, temperature extremes, physical abuse, and high humidity. Mics in a high humidity environment or those that live close to the ocean generally have a shorter life than those kept in dry climates. Because the grill weave is very open to allow all of the high frequencies to get through, this also allows spit from a close vocalist to get to the capsule. It is recommended to use a Pop Screen / Filter to keep your capsule cleanest.
I can hear some hum coming from the power supply. I this normal?
One thing with the linear power supplies: the power transformer will be noisier at 50Hz elsewhere in the world than at 60Hz in the USA where we are. That is physics of power transformers.
PLACE your PSU box as far away the source that you are mic-ing as possible.
Make sure the surface you have the PSU setting on is not also acting as a resonant amplifier. We have seen wooden shelves for instance act as mechanical amplifiers for vibrating transformers.
Try placing the PSU on a concrete floor. Or a carpeted floor.
The PSU does not run hot and ventilation is not an issue so for now, if you have it placed far away, on a non-amplifying and non-resonant surface, and you are still picking it up with your microphone in your audio, place a blanket or pillow on it to reduce the radiated physical noise.
All of the sudden my mic lost all bass response. It’s almost like a High Pass Filter kicked in. What happened?
Here are three likely culprits:
No low end: could be bad capsule
No low end: could be open connection at output transformer
No low end: could be open 221K resistor
Fill out the Tech Support form here on this website and get in touch with our Service Team for further help.
It’s so weird. I am getting a staticy high frequency buzz sounding thing from the mic but it goes away when I put the 10dB Pad in.
This might be a problem with the output transformer if you see the part number 7227B on the mu metal can. So, let’s get that back to us so that we can replace the transformer and cure that high frequency oscillation for you.
Here’s one new on us! One customer in Los Angeles wrote to us with this cure: I have news that may be helpful for other clients- the noise was emitting from the Los Angeles power company’s electric meter located inside my commercial facility!
Amazingly, one sheet of aluminum foil over the city’s meter completely removes the noise being picked up by the Ref C. Easy fix- As such, I don’t feel a need to mod the mic. If you have any LA clients, particularly in a business location, with the noise, have them check the LADWP meter near them. Wonders never cease! Thank you and EveAnna!
Can I upgrade my older linear power supply to the new fancy MANLEY POWER® switchmode power supply?
Sorry to report but there are too many other changes between the linear PSU for the Manley RefGold and the MANLEY POWER® SMPS for the RefGold. It is not simply a matter of buying the other PSU. The whole guts of the mics are different, heaters run off 12v on the linear vs 6v on the SMPS, and some other circuit changes. The PCBs are different inside the mic as is the cabling and XLR jack: 6-pin for the linear versions and 7 pins for the SMPS versions. We are not offering trade-ins or upgrades or mods of any linear-to-SMPS versions of anything as the mods are too extensive.
Sorry bro!
Best course of action would be to sell the linear one and buy a new model SMPS version.
Serial numbers REFGOLD7P#### indicate the new MANLEY POWER SMPS version.
What do I use to clean the gold body of my mic?
Usually you could use some glass cleaner applied to a damp cloth to remove dust and fingerprints from the microphone gold plated body of the microphone. Always apply the cleaner liquid to the soft microfiber cloth. Never spray the microphone directly with cleaning solution as you never want to introduce liquid cleaner to the capsule membrane! If you ever feel the need to polish the gold body to remove surface scratches, you would want to first remove the body from the microphone taking care to protect the exposed capsule from physical damage. Then remove the black suspension inner rings by loosening the securing screws and sliding them off towards the base-end of the body. Now that you have just the gold body in your hands, you can use a gentle liquid polishing compound such as Brasso to remove minor surface scratches. Follow the metal polish directions from your polish of choice.
Where is my mic's serial number?
The Manley Reference Microphone serial number is located on the inner face of the mic suspension plate flanking the hole where your mic stand attaches to the mic suspension.
I need a frequency response plot and a polar response chart!
In 30+ years of producing microphones we have never provided plots and charts as we do not have an anechoic chamber or empirically correct measuring space that would give you useful charts. So we don’t provide half-assed ones either. I have visited a microphone manufacturing facility in China and I witnessed a lady drawing a pretty curve by hand for each microphone they were packing up… yeah, really.
I need to buy a new cable but I don’t want to spend the shipping cost to buy your OEM cable and have to ship it to the UK when I can just buy one locally. Why should I buy your cable?
Without being able to clarify and qualify the specific cable in the UK you are contemplating purchasing, we cannot advise on any differences between what we know and what we do not know.
If you want a cable that is guaranteed to function properly, is wired correctly, provides best shielding practices, accommodates the audio signals and high current heater lines to specification, is built with longevity as a priority using premium connectors and wire made to our specifications, and is backed by our own warranty, then you should buy the Manley OEM cable. Otherwise, you are on your own to make the decision to use a non-OEM cable and put your microphone system out of warranty. Best luck with that.
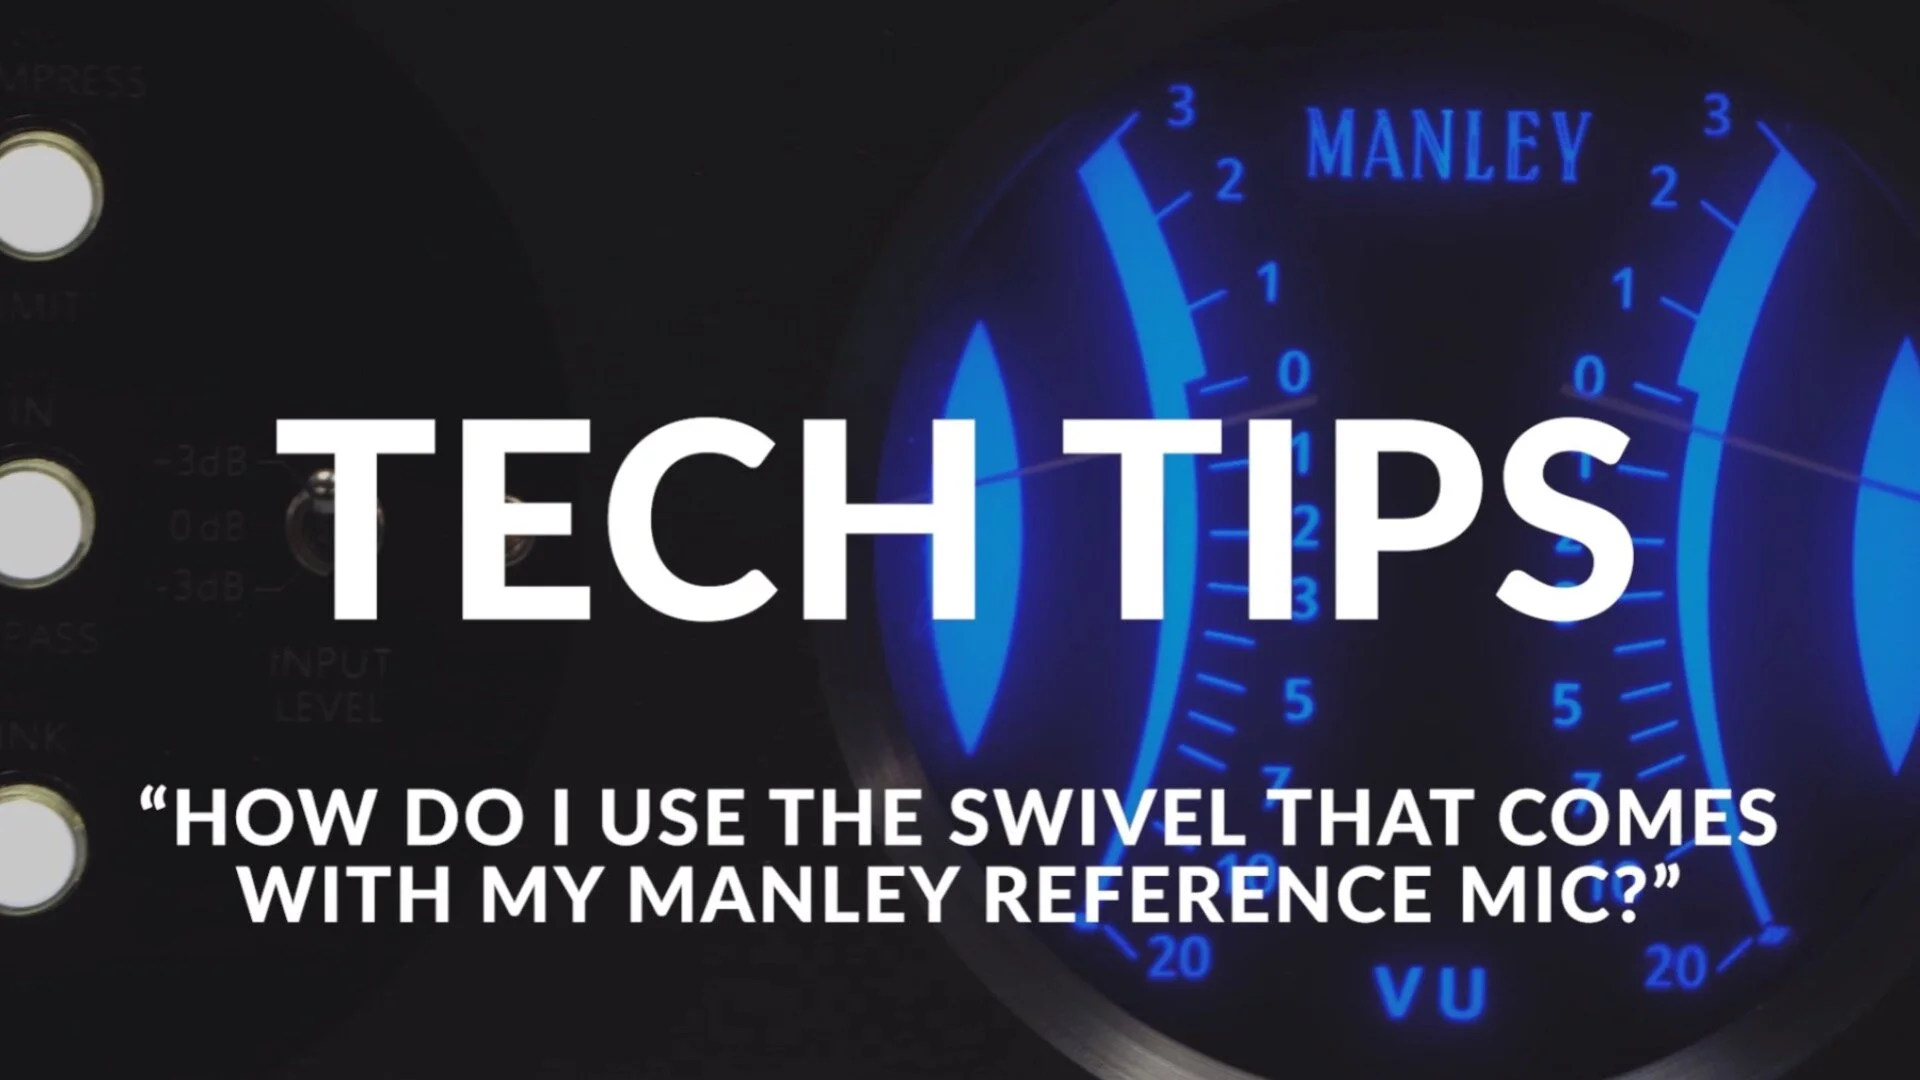
My Manley Reference Microphone came with this neat metal swivel mount, but I'm not sure how to install and use it. Help?
Watch this video to learn all about it.

Oh and by the way, use a heavy mic stand and don’t knock it over! But if you do, the outer suspension rings are easy enough to replace.
A PIECE OF HISTORY
Here are some historic photos of one of the first prototype Reference Gold microphones built for Jackson Browne way back in 1990. He has two of these at GrooveMasters. Note the chiseled base and suspension that was never anodized!


